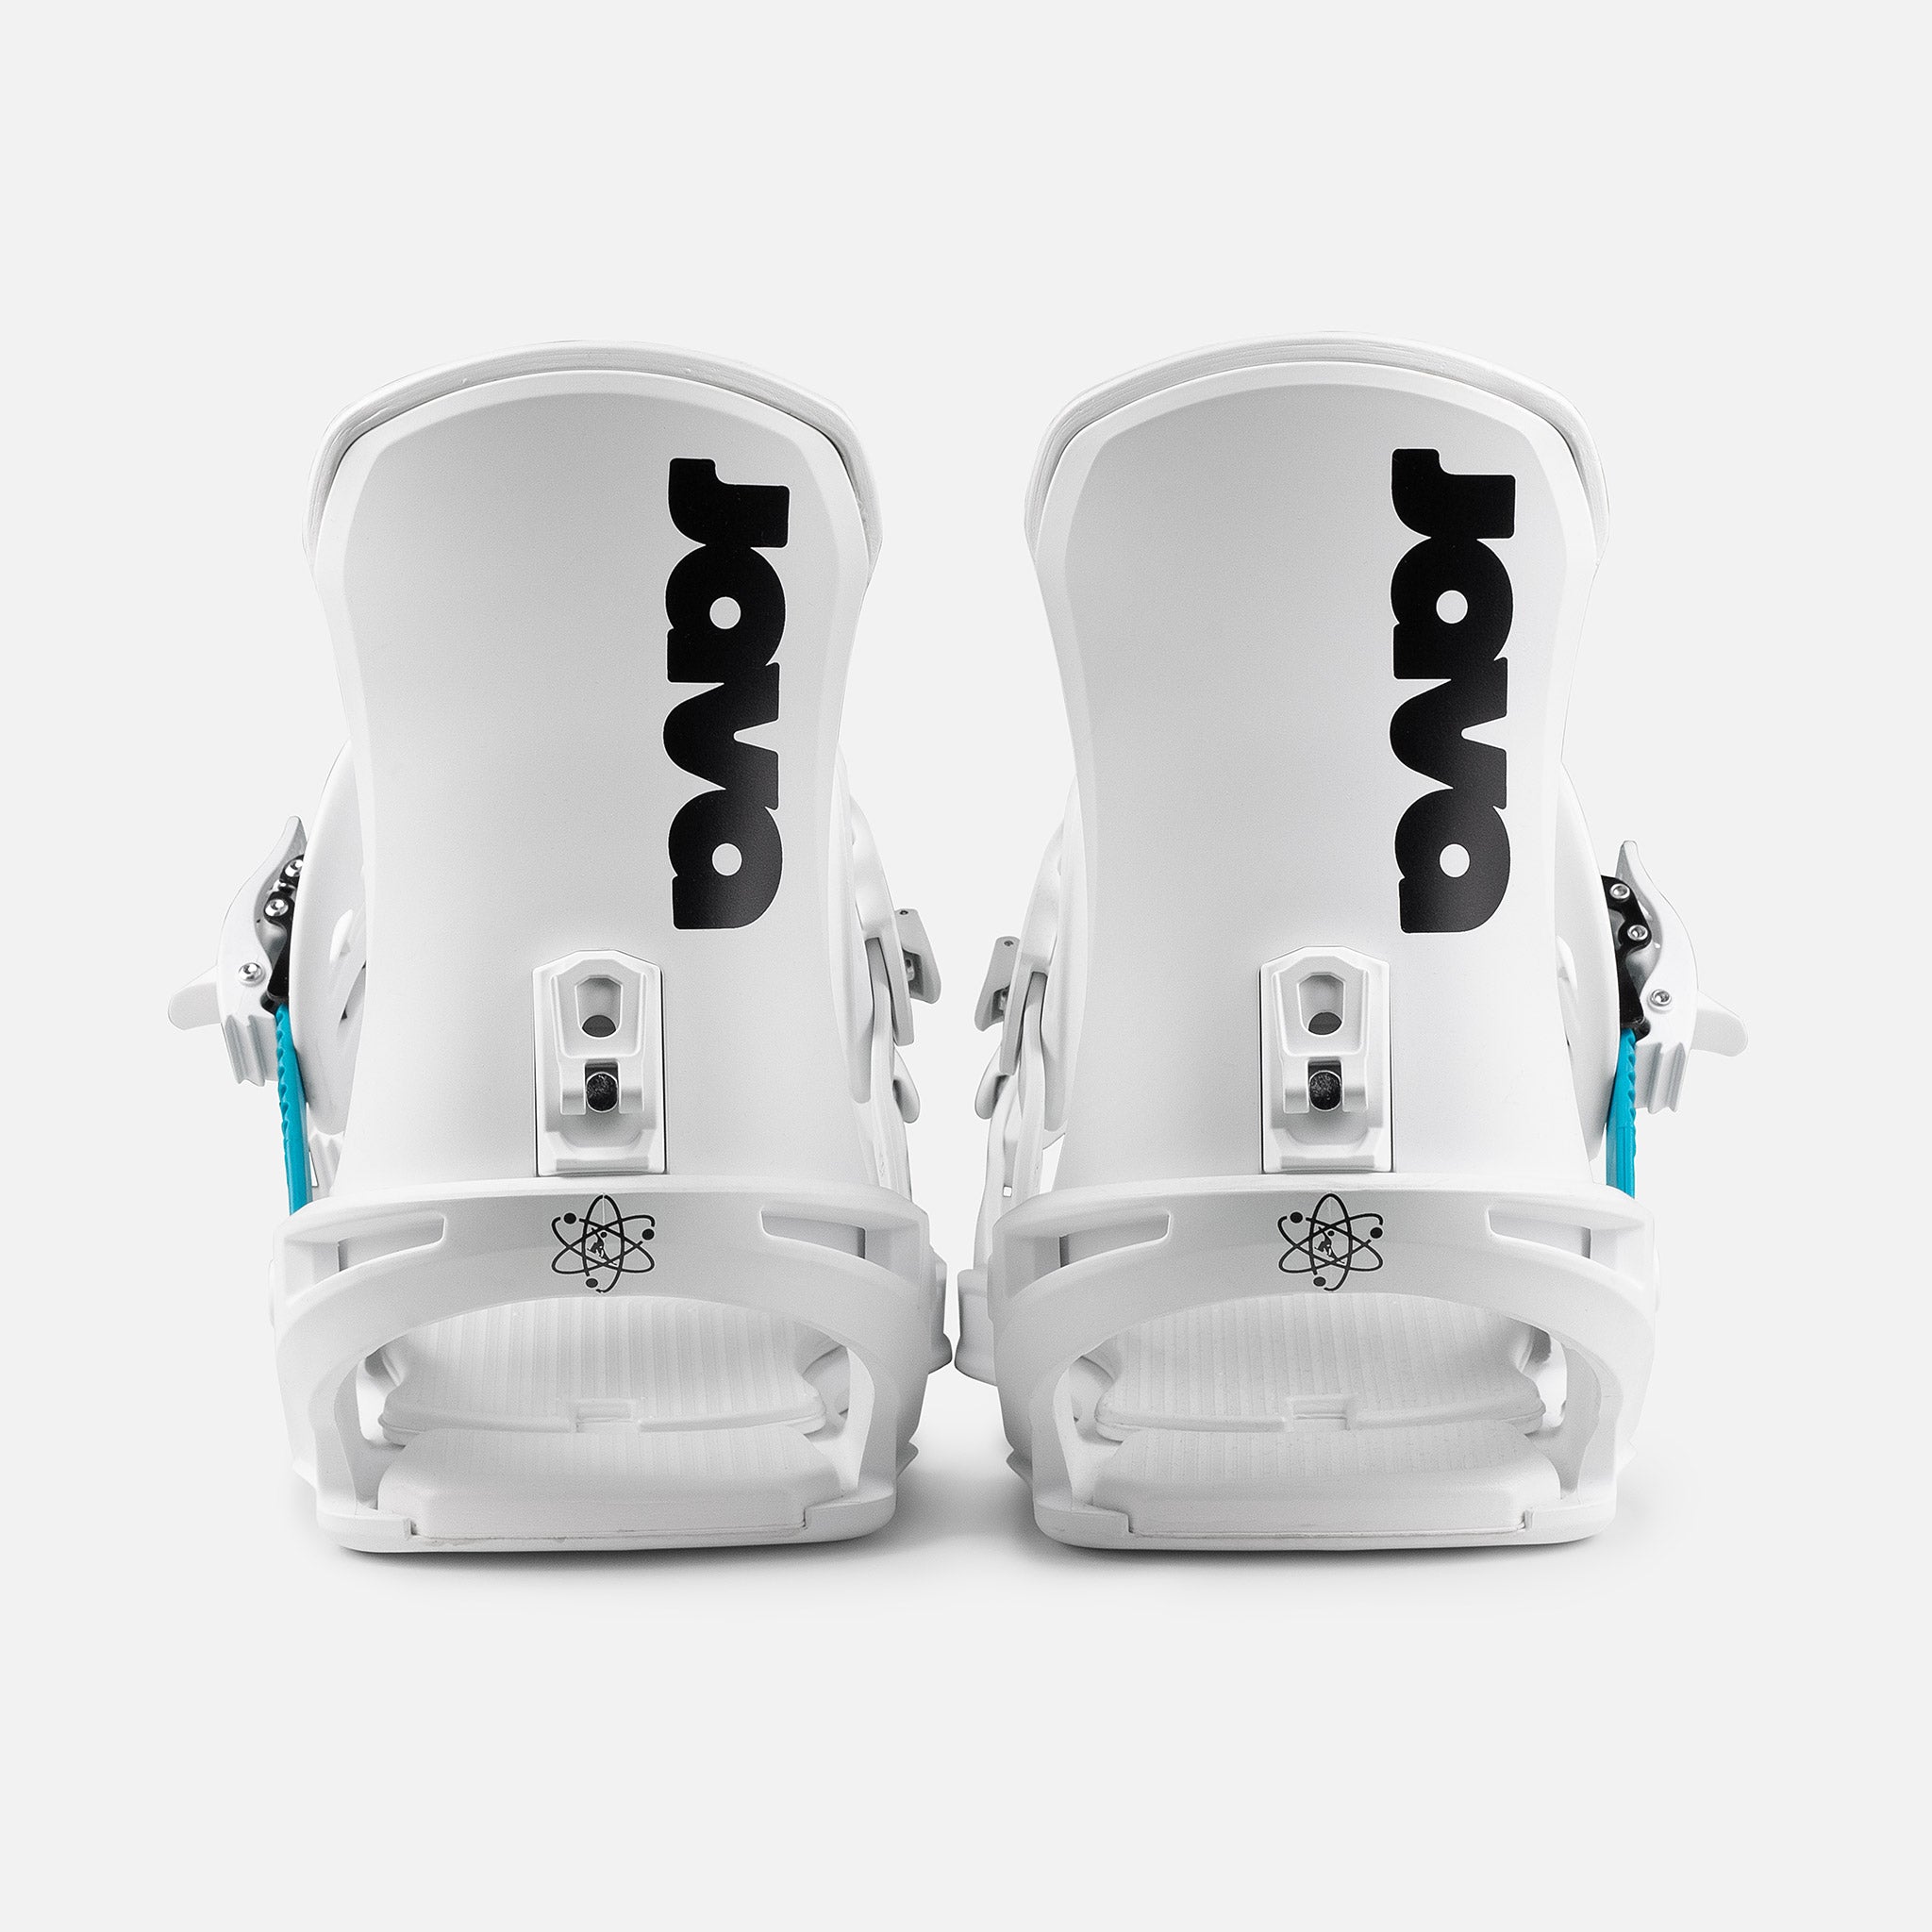
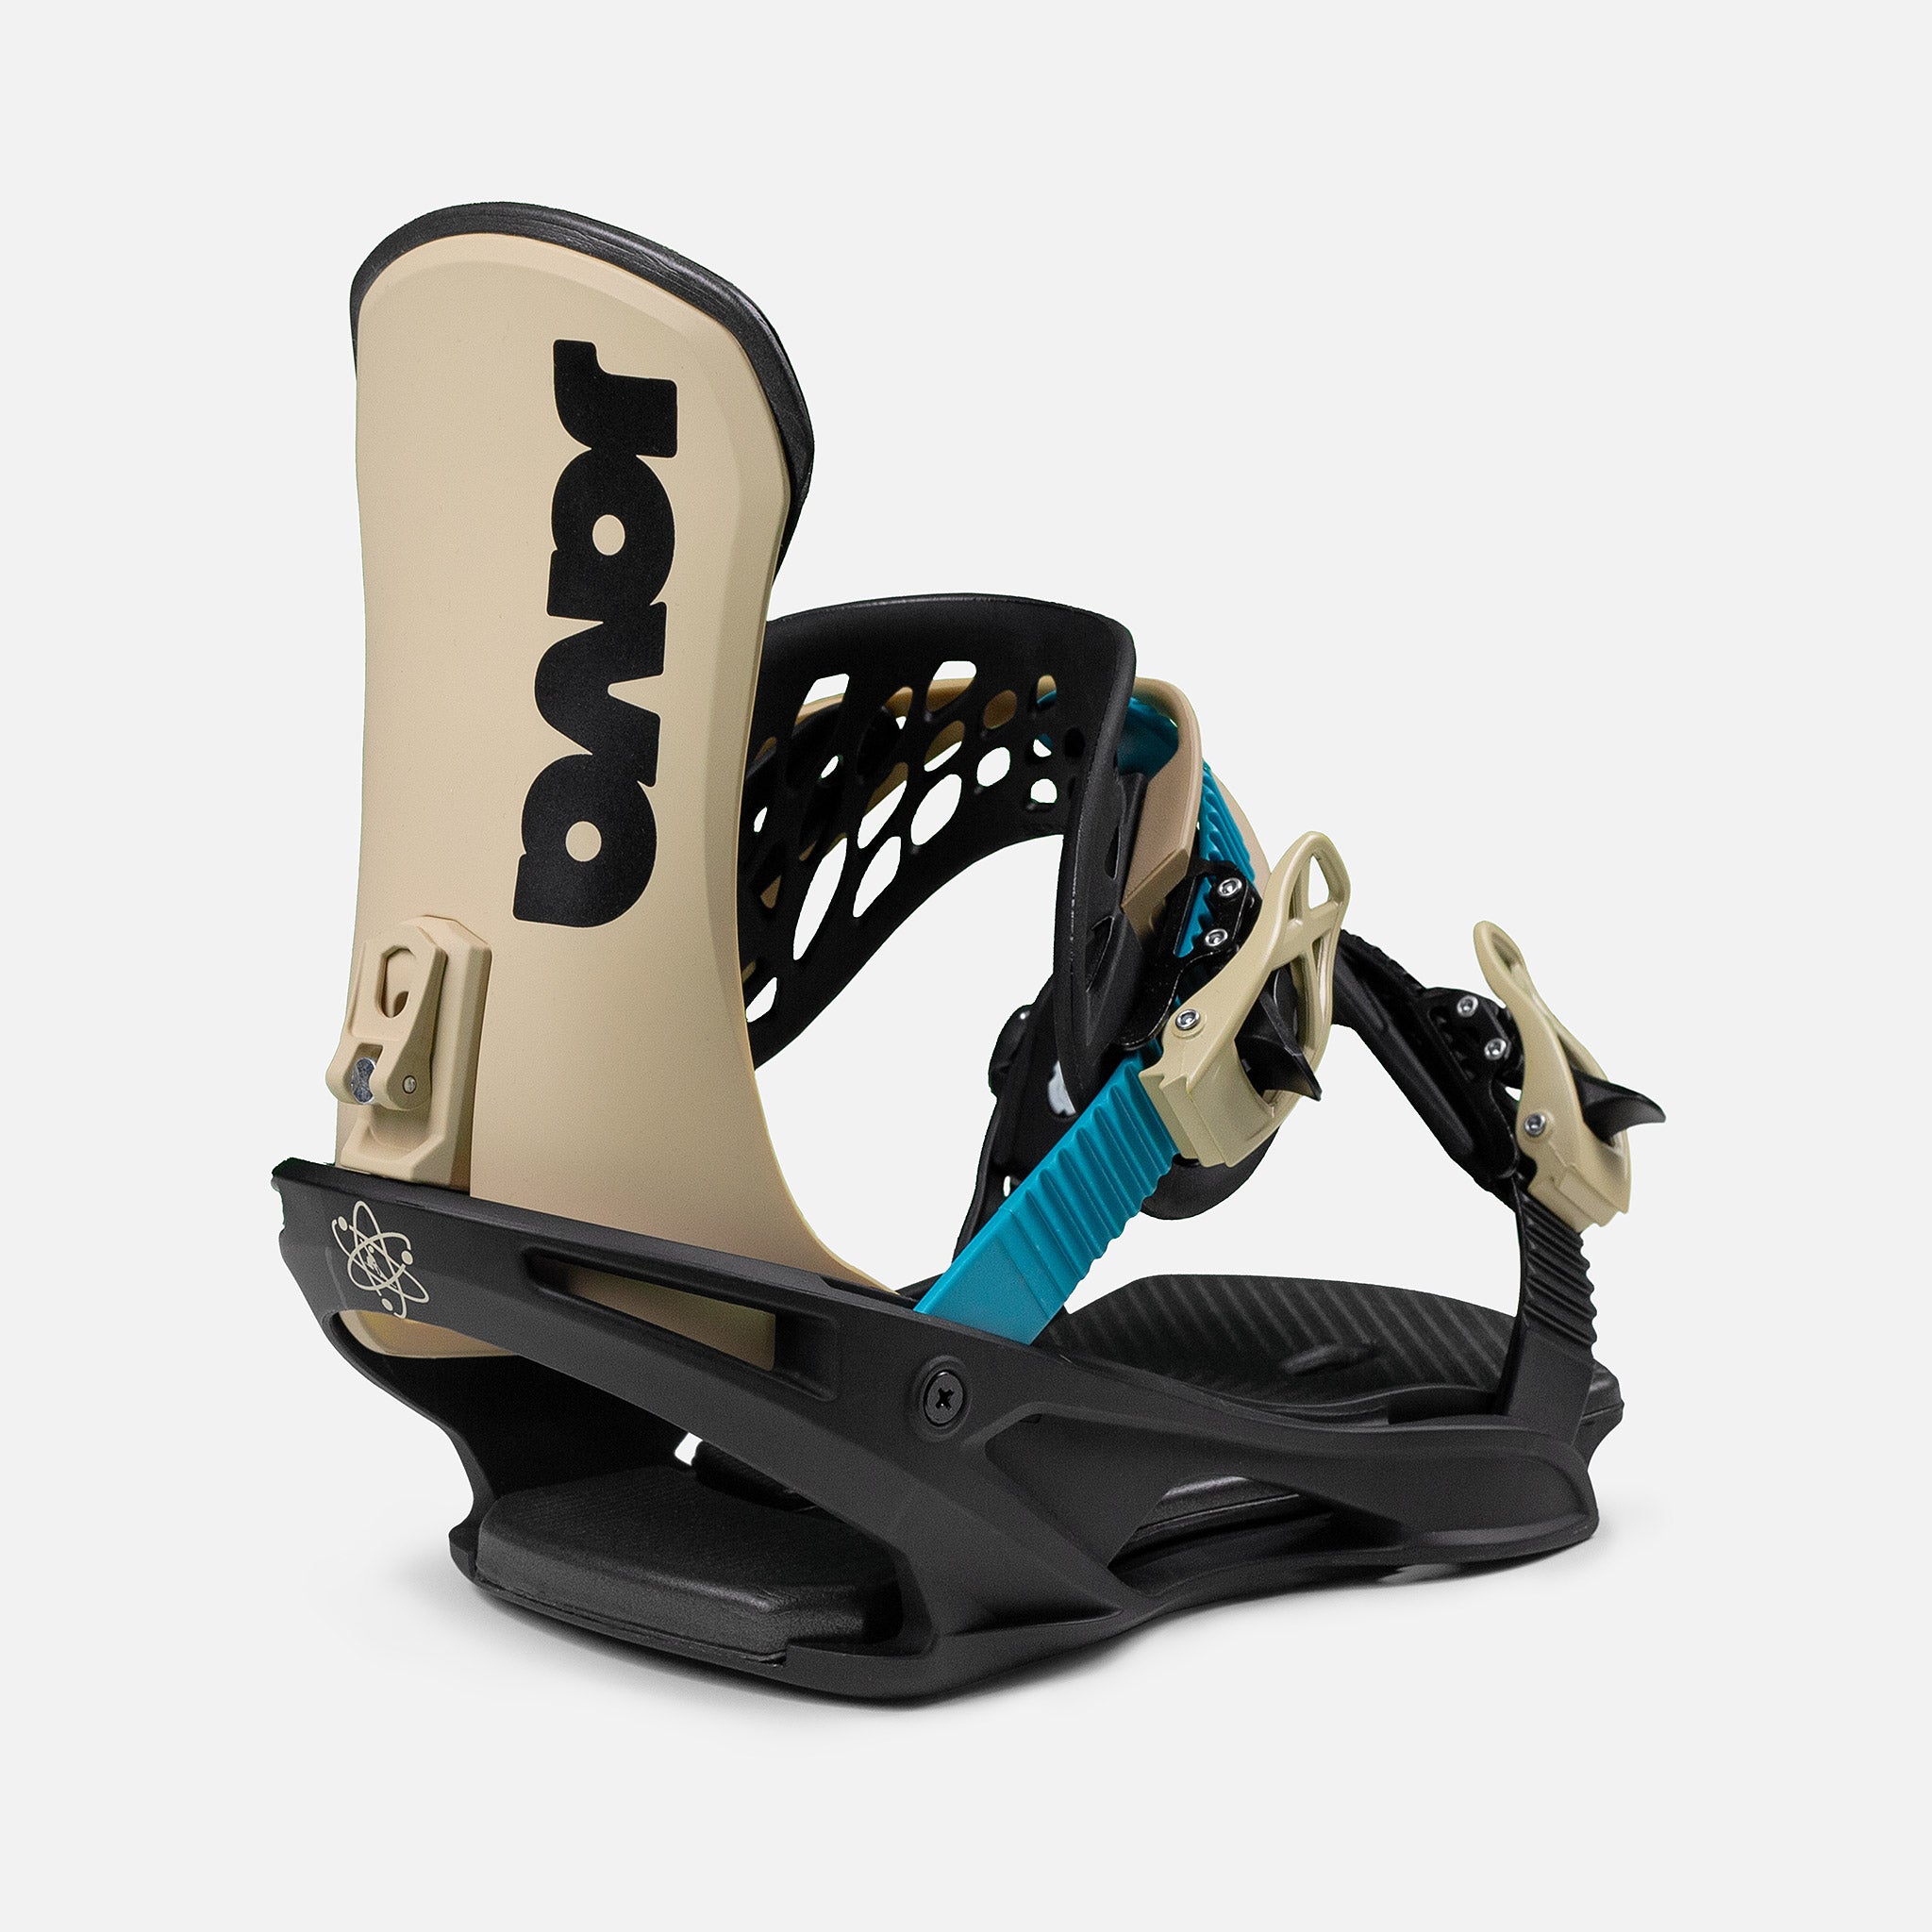
Snowboard Binding Instructions
Tools Needed:
• Phillips #3 Screwdriver
• Tape Measure
Step 1 - Determine Stance and Width
Are you Regular Foot or Goofy Foot?
- There’s no right or wrong, but determine which you feel more comfortable with.
- Regular is left foot forward, Goofy is right foot forward.
What are your binding angles?
- Again, no right or wrong, and it is personal preference. Stand on your board as if you’re riding forward. Be natural and comfortable. Make a get rad face if needed. Look down at your feet and make note of stance, you’ll need to approximate your angles for your feet when mounting your bindings.
What is your stance width?
- Lastly, determine the comfortable width between your feet when in your stance on your board. Use a tape measure to measure the distance between your feet.
- With your stance, you can always adjust and fine tune later, so don’t fret too much on getting everything perfect.
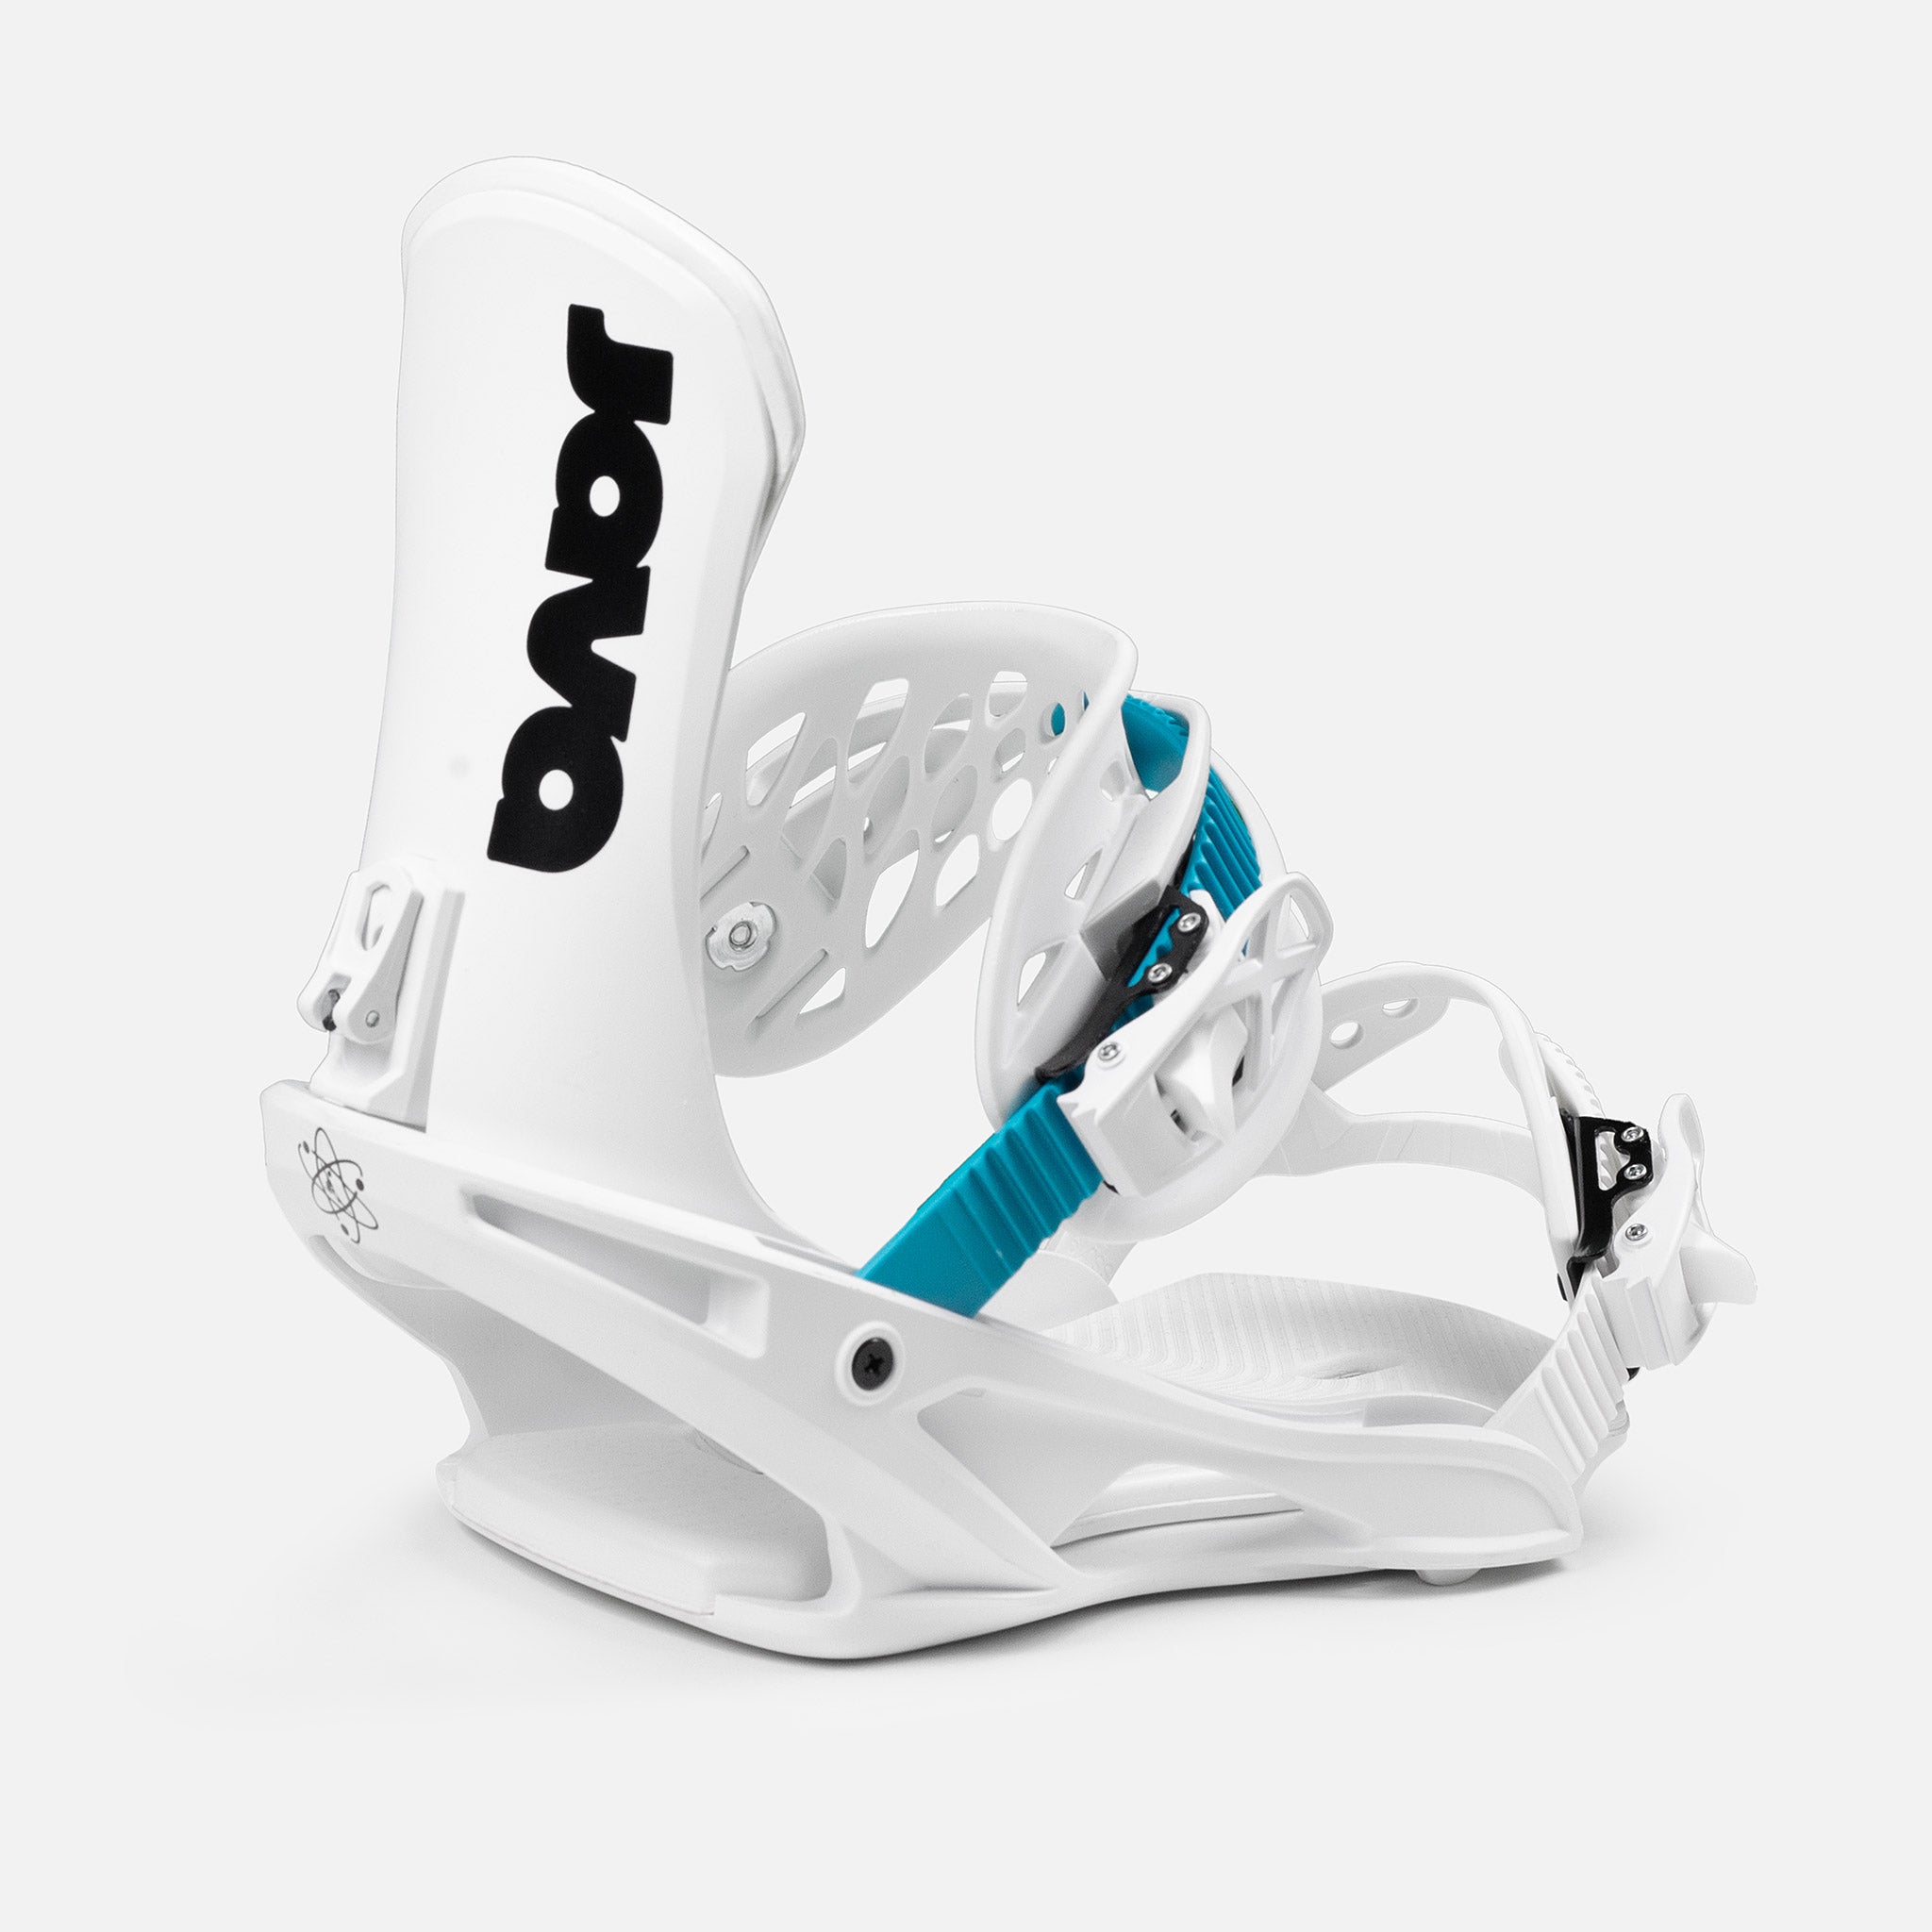
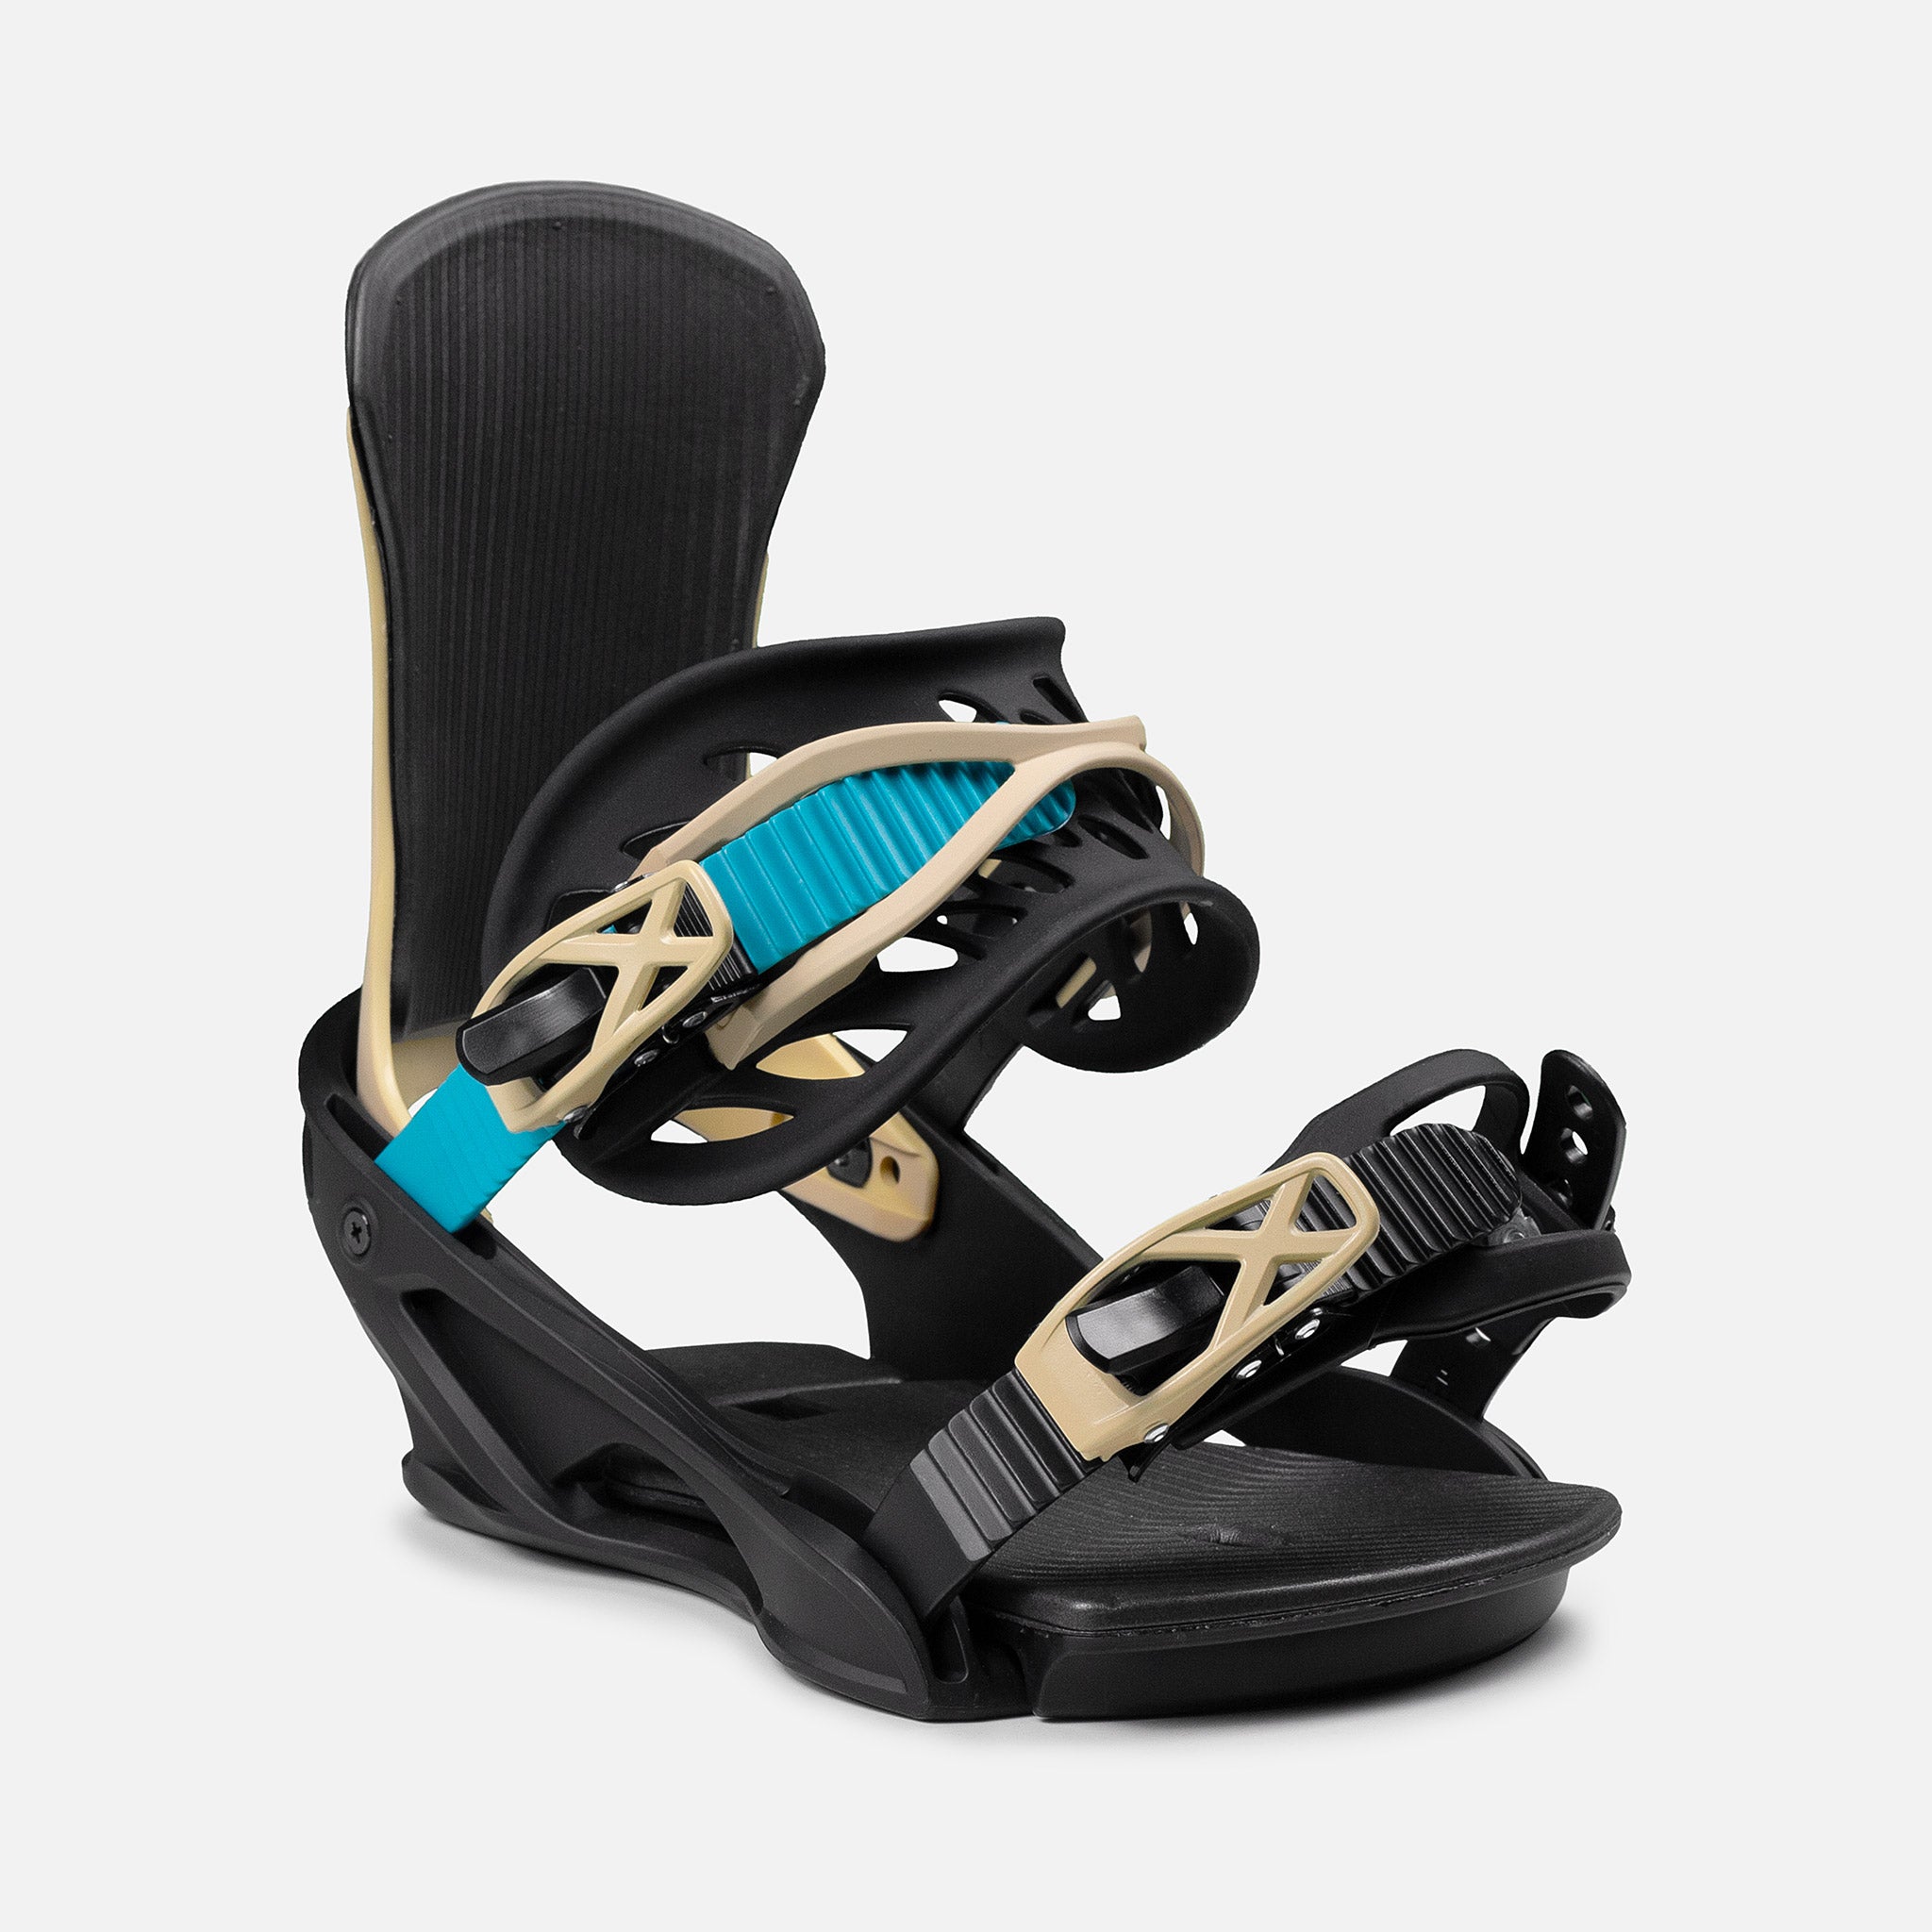
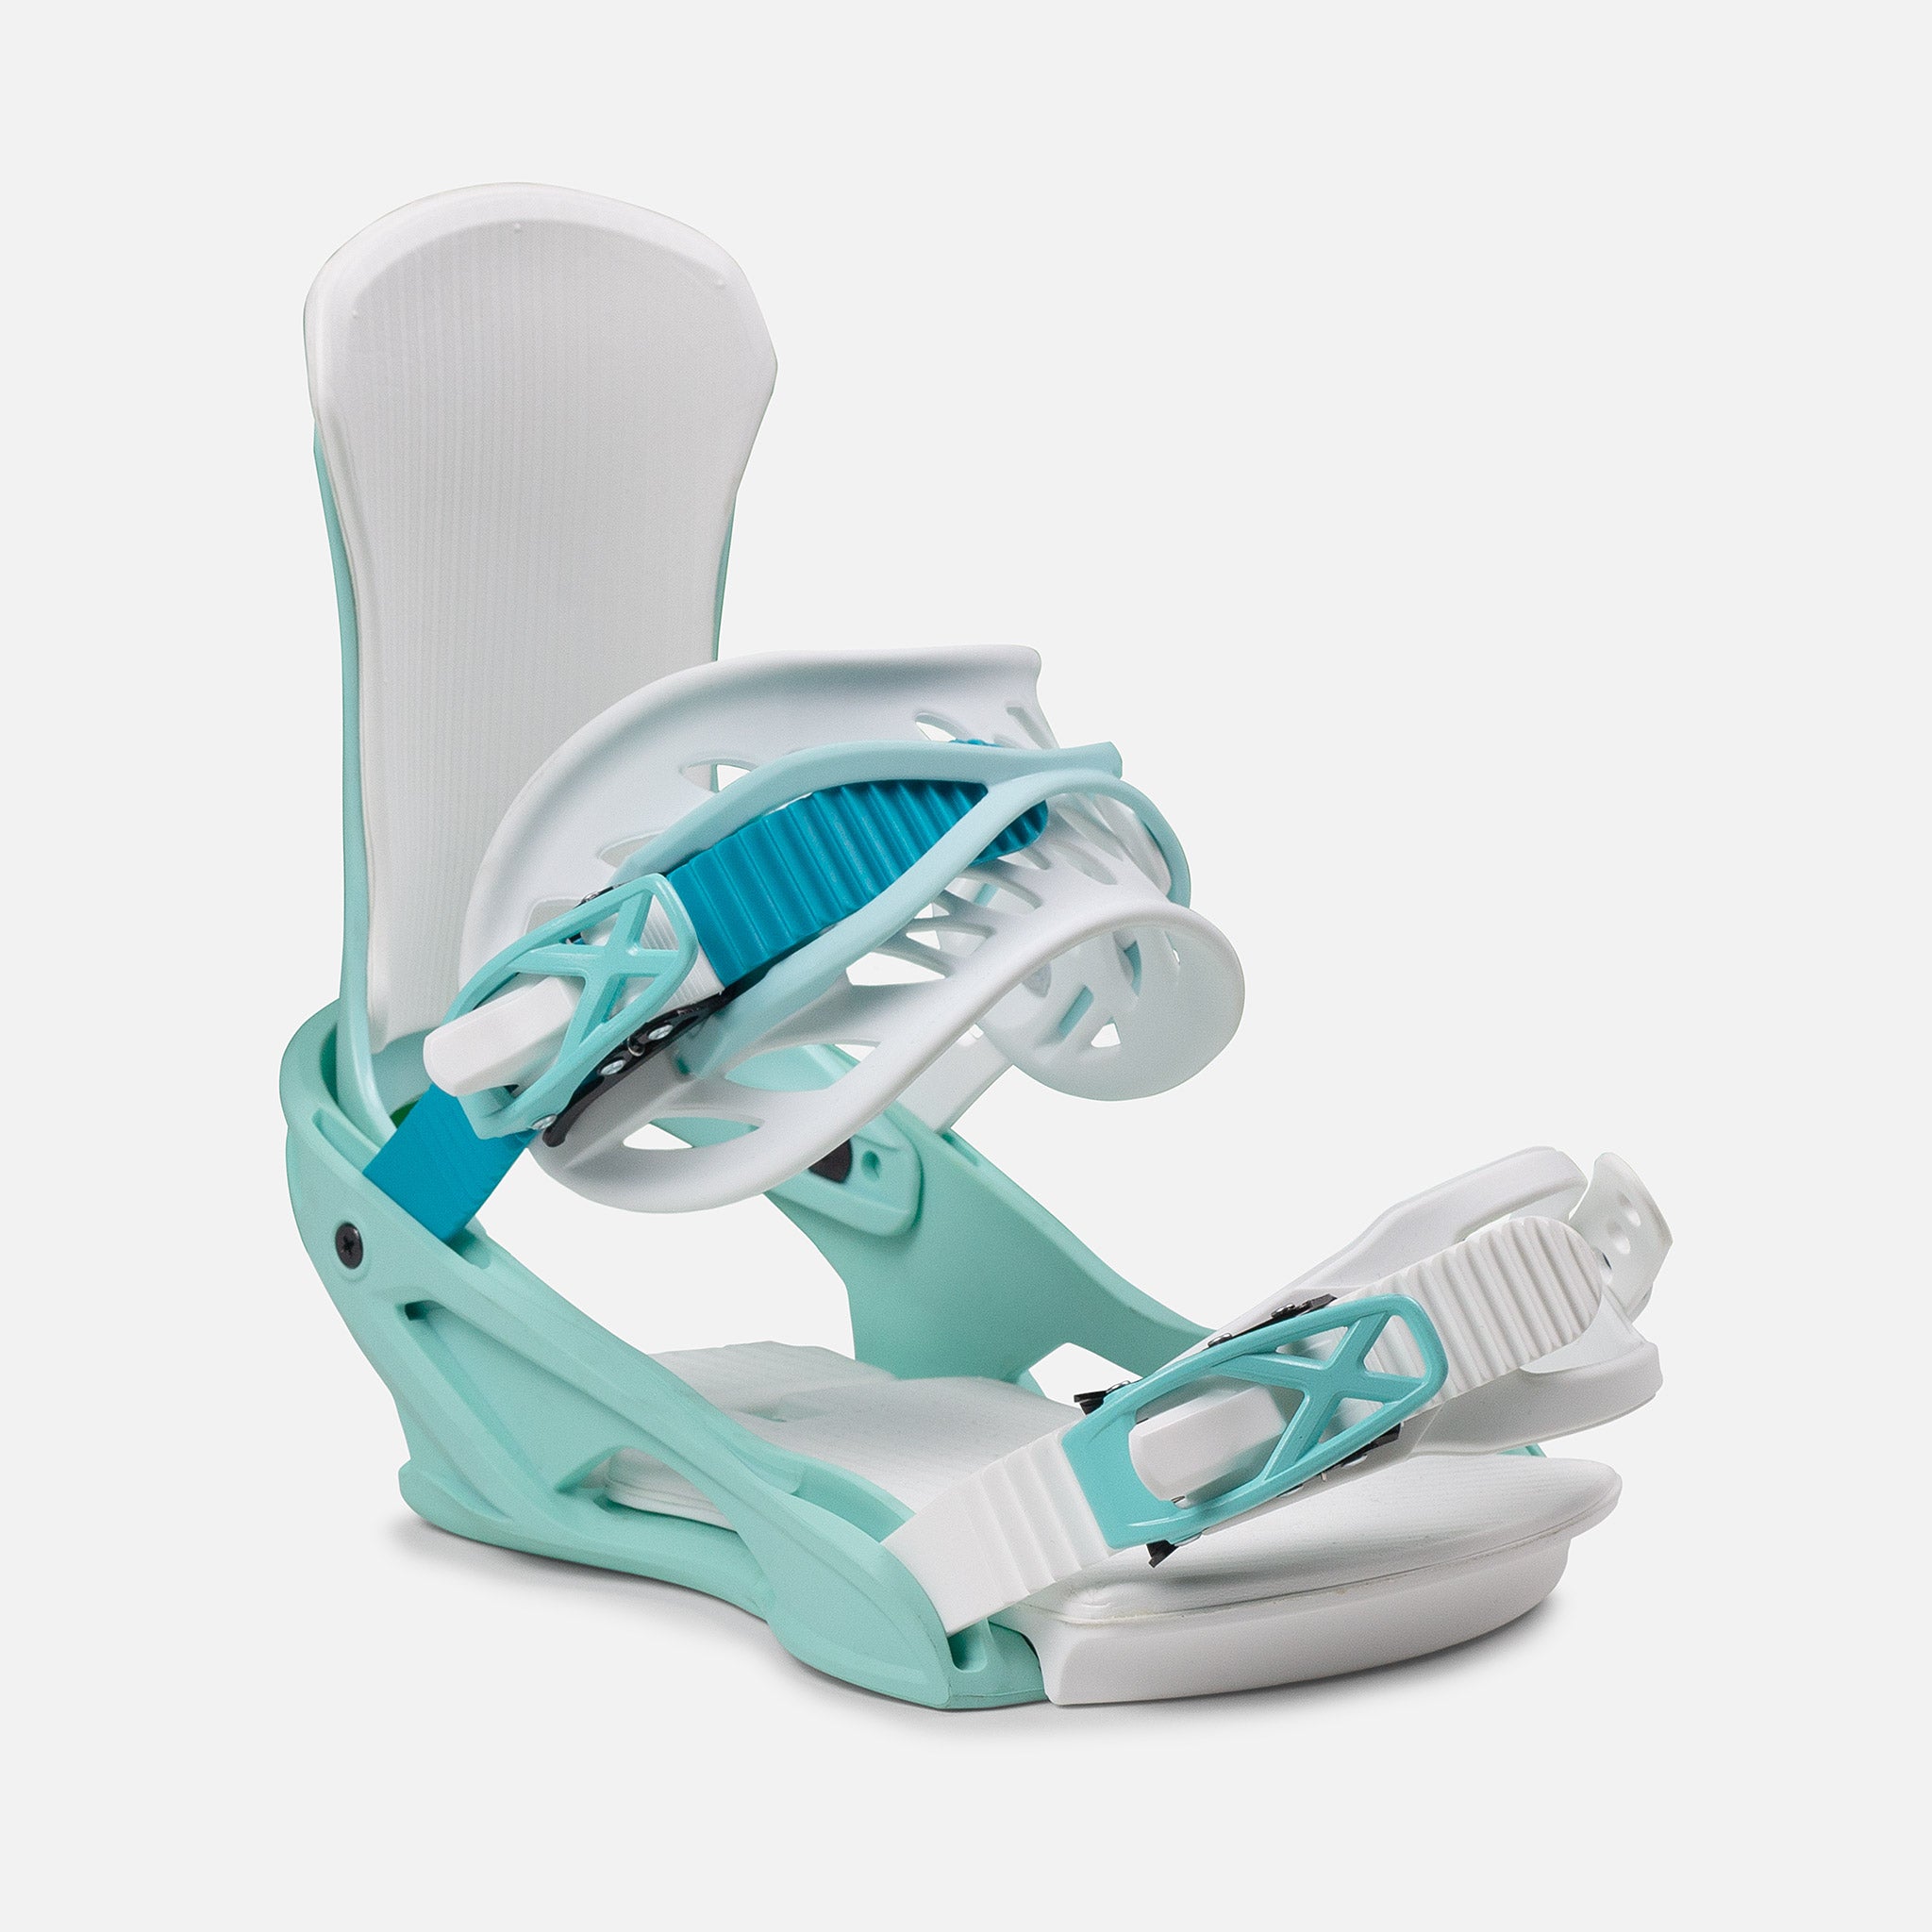
Step 2 - Secure the Bindings to the Board
Now that you’ve determined your stance and width, time to get those puppies mounted onto your board. For both left and right bindings, repeat below.
- Remove the ramp dampening pad (RDP) by removing screw and sliding it forward toward toe of binding.
- Place disk onto binding at desired angle for that foot in your stance. Use the arrow on the disc and noting that each notch is 3 degrees.
- Place each binding onto and over inserts of board, so that the holes of disc you’ll be using line up according to your stance width. You’ll likely want to center your stance on the board, or slightly back toward tail, especially if you anticipate deeper snow conditions (stoke!).
- Also note that there are 3 positions for the disc mounting to be toward the toe or heel edge – this depends on your boot size relative to board width. Adjust accordingly so your boot/binding is centered, and the toe isn’t hanging over edge too much.
- Apply the screws for each insert and tighten. It is recommended to check your insert screws from time to time, as well as all screws and fasteners on the binding.
- After ensuring the screws are secure, slide the RDP back onto base. Note that there are 3 positions where the RDP screw can be tightened, so place RDP according to size of your boot.
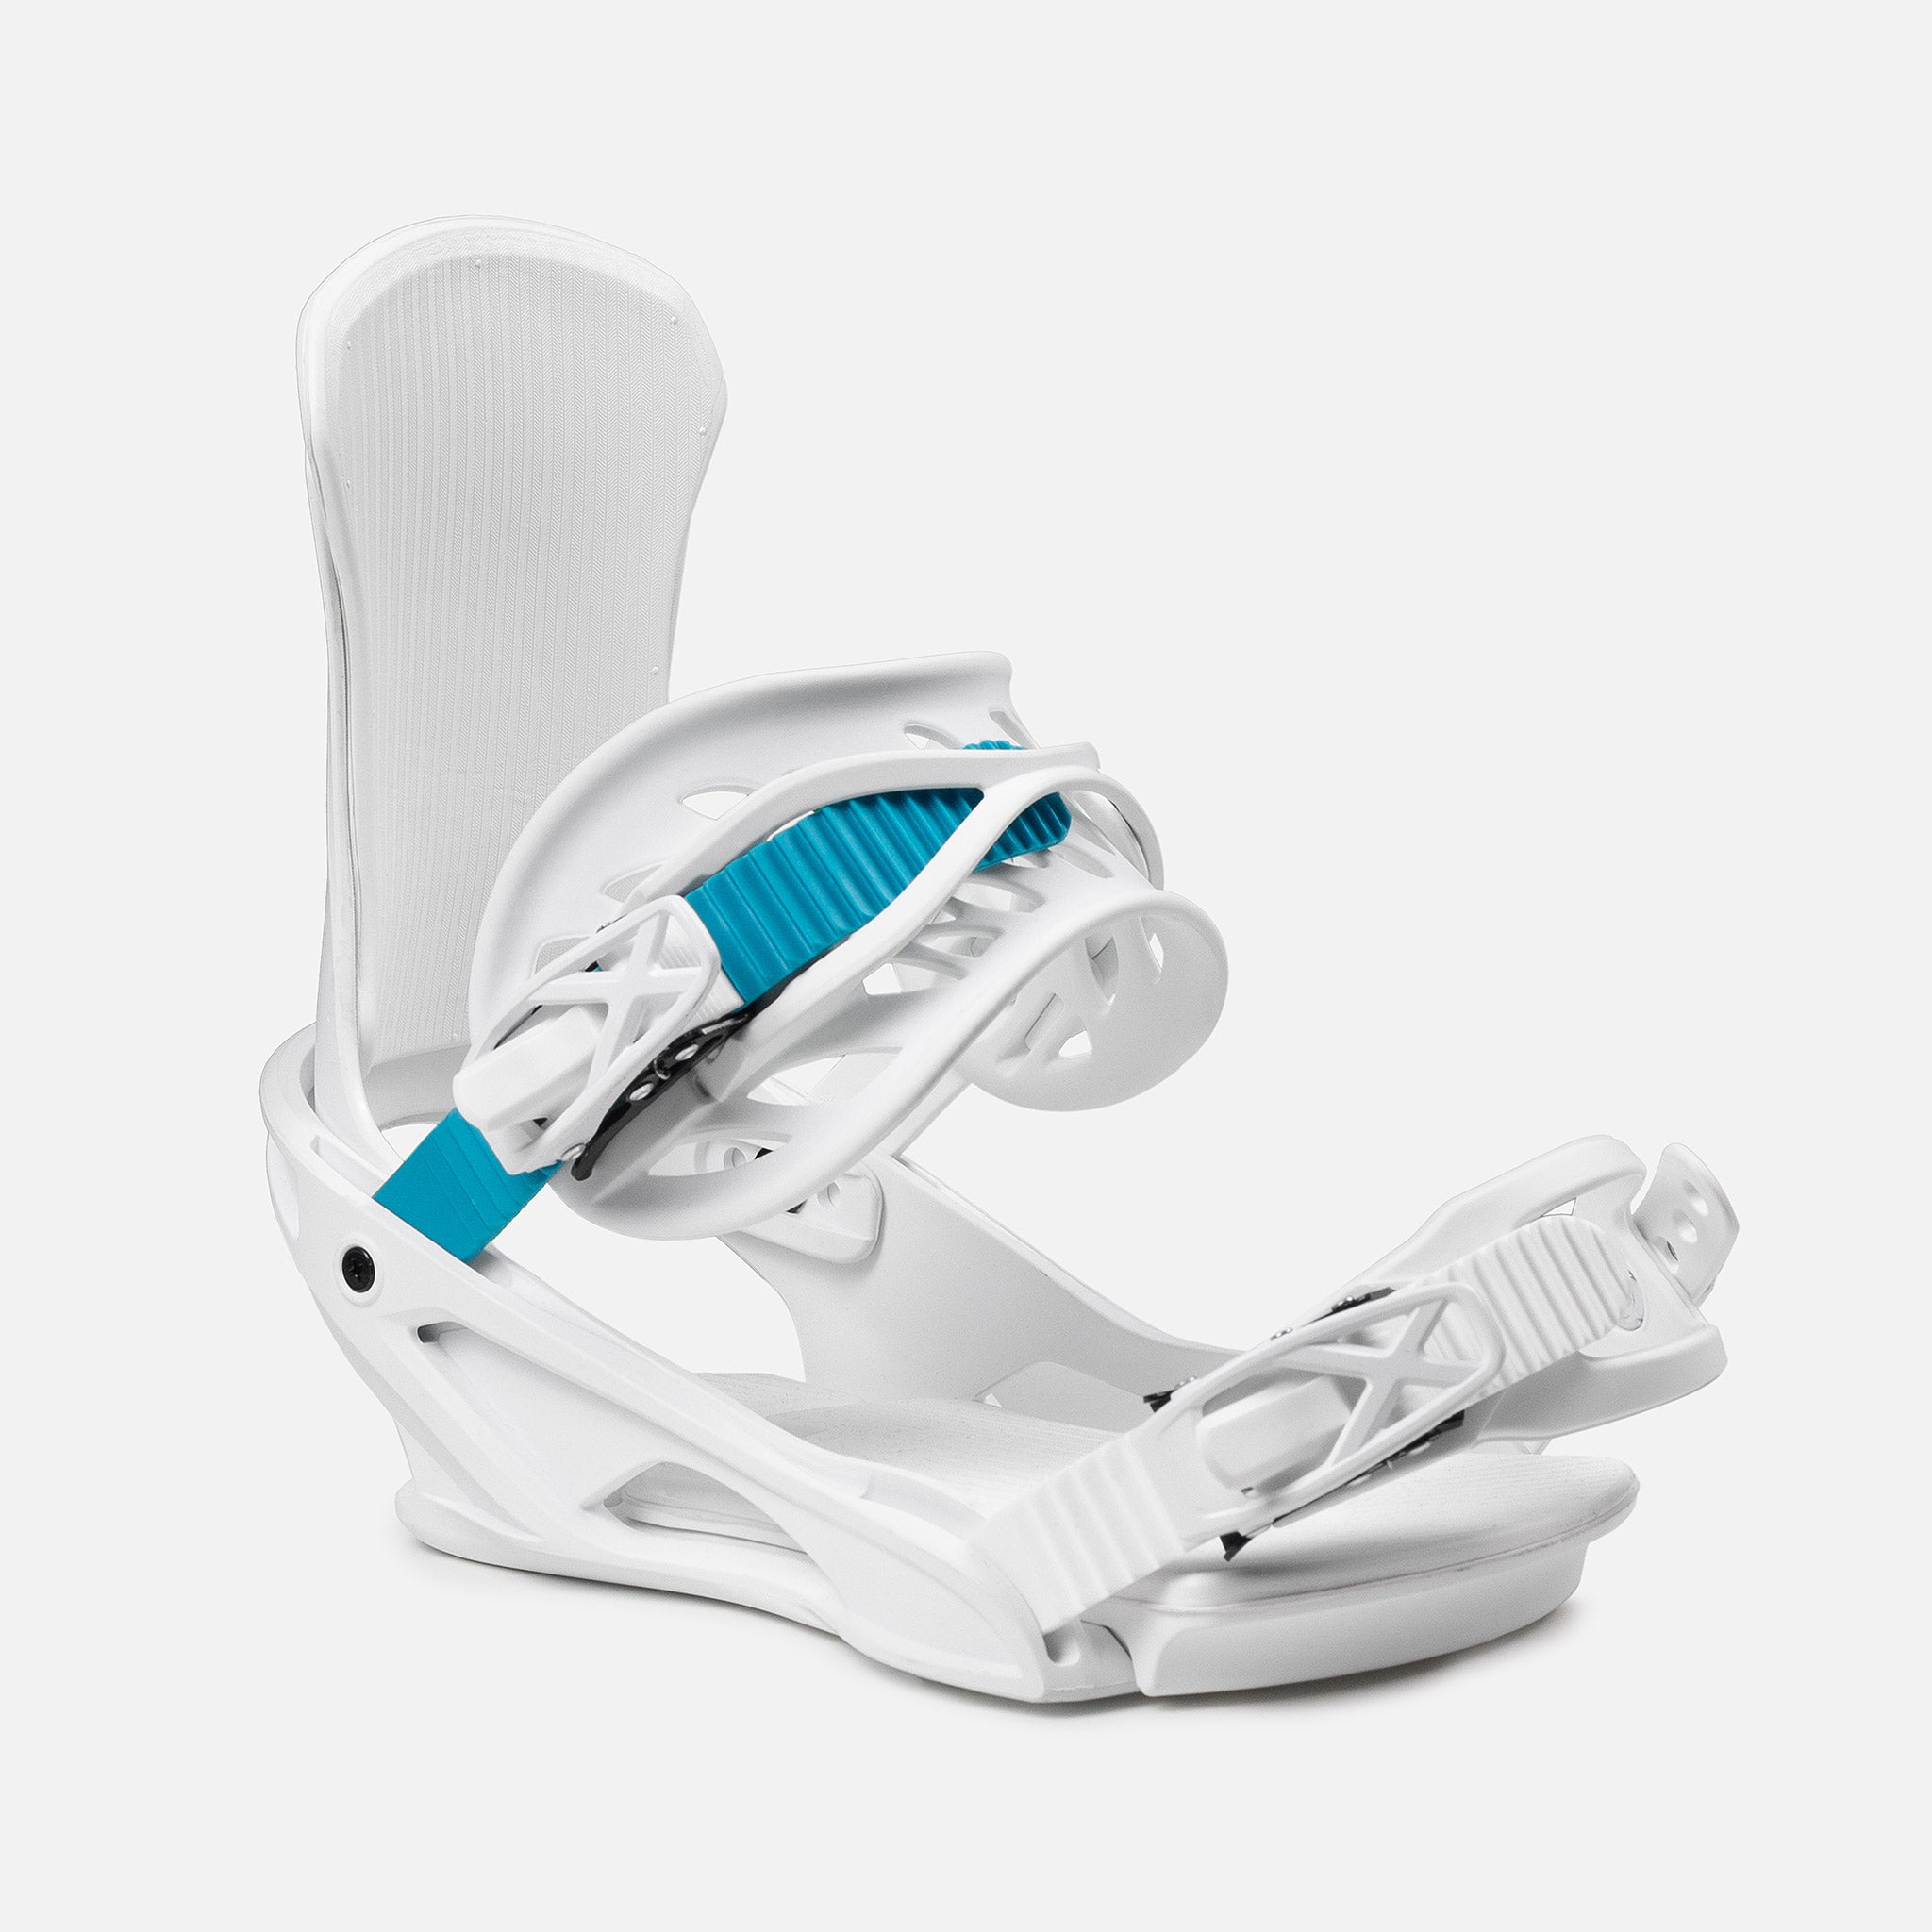
Step 3 - Strap / Highback Adjustments
For properly fitting your boots into your bindings, place your boots into your bindings and adjust per below. No need to put your feet into the boots just yet, but if you’d like to, go for it.
Ankle and Toe Straps
- You’ll want to center, as much as you can, the ankle and toe straps over the middle of your ankle and the front top of your foot. With the boot in the binding, secure each ladder strap into the corresponding ratchet and close securely. Note if you need to extend or shorten in order to center the strap over the boot. Simply flip open and hand loosen the tool-less screw from the nut on the strap and adjust the length accordingly. Be sure to tighten when replacing screw and flip down the enclosure.
Highback Forward Lean
- The forward lean adjustment on the back of the highback allows you to tweak the forward lean. Adjust by flipping the lever open and turning counterclockwise to move up/down, and then tighten once in desired position. More lean may allow quicker response in turns, less lean equates to less response, but more comfort. Take a few runs down the mountain in different positions and easily adjust to your preference.
Highback Lateral Adjustment
This is an optional adjustment, but may make your snowboarding more comfortable, especially if you ride a stance with steep angles.
- The highback can adjust side to side to align more with the snowboard’s heel edge. This can be adjusted by removing both screws and T-nuts at base of the highback and adjusting position. They come centered, but to adjust, you would replace one screw forward and the other screw toward rear, to more closely parallel the highback to the heel edge.
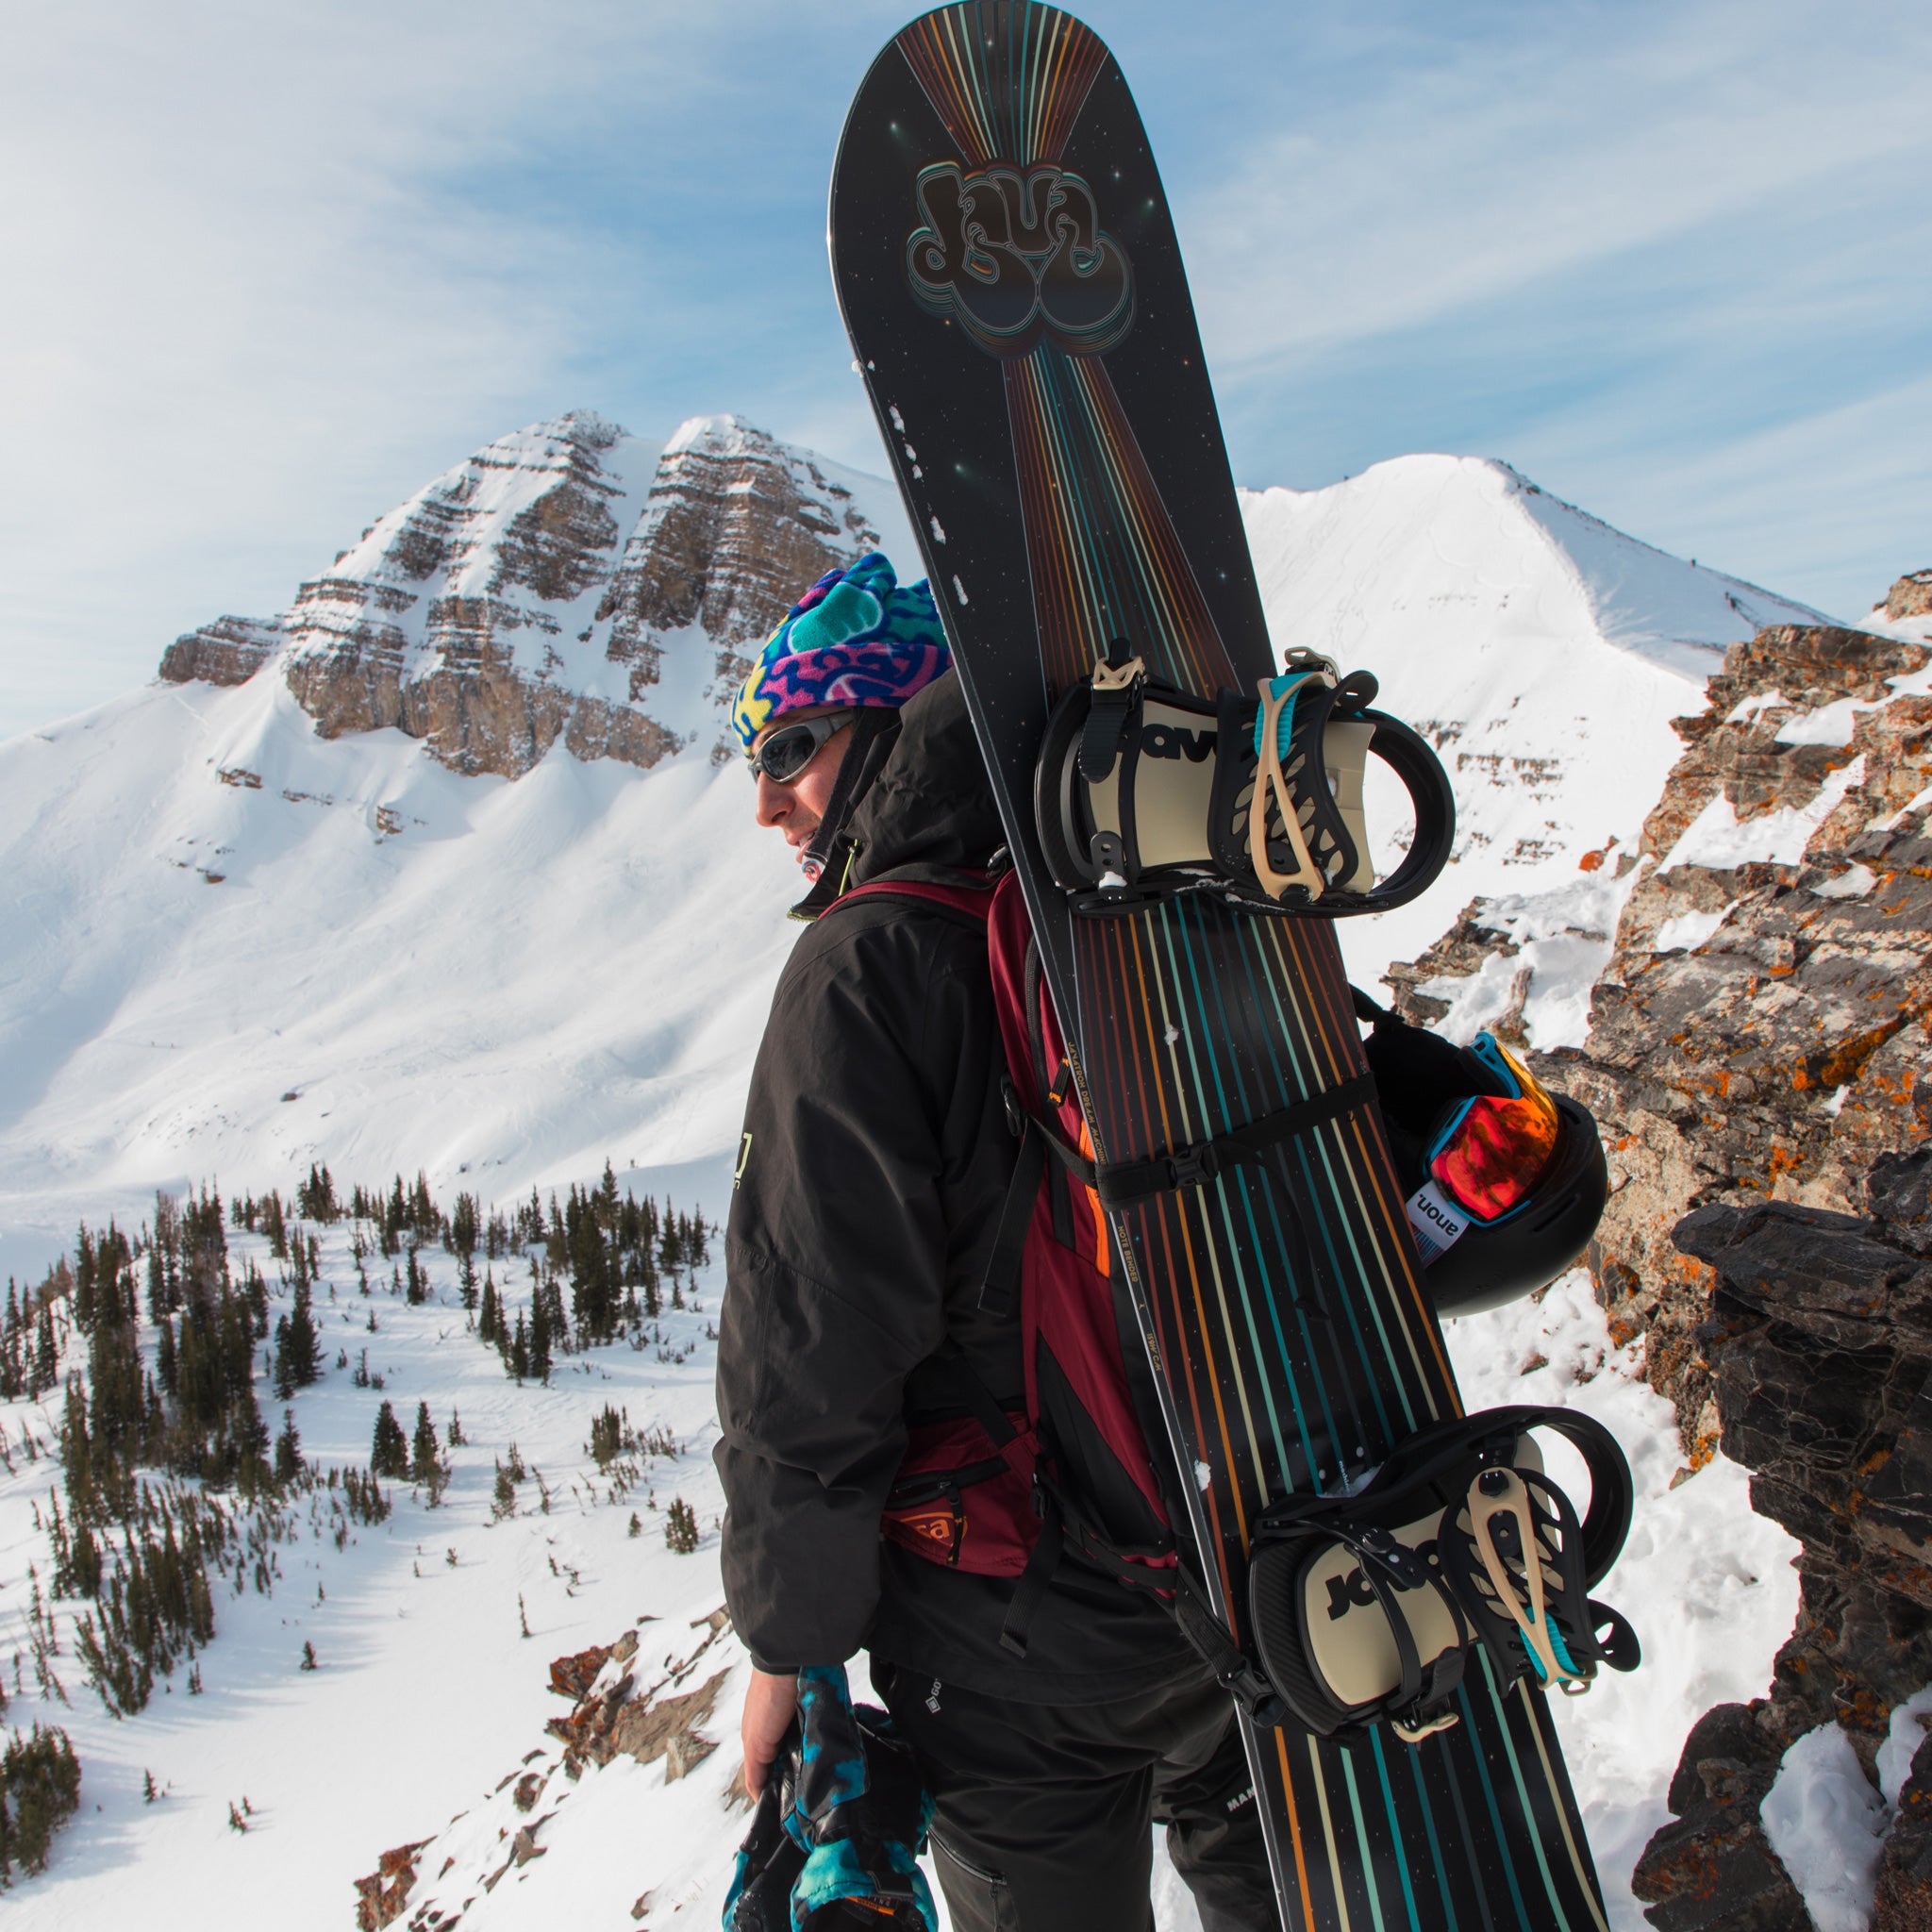
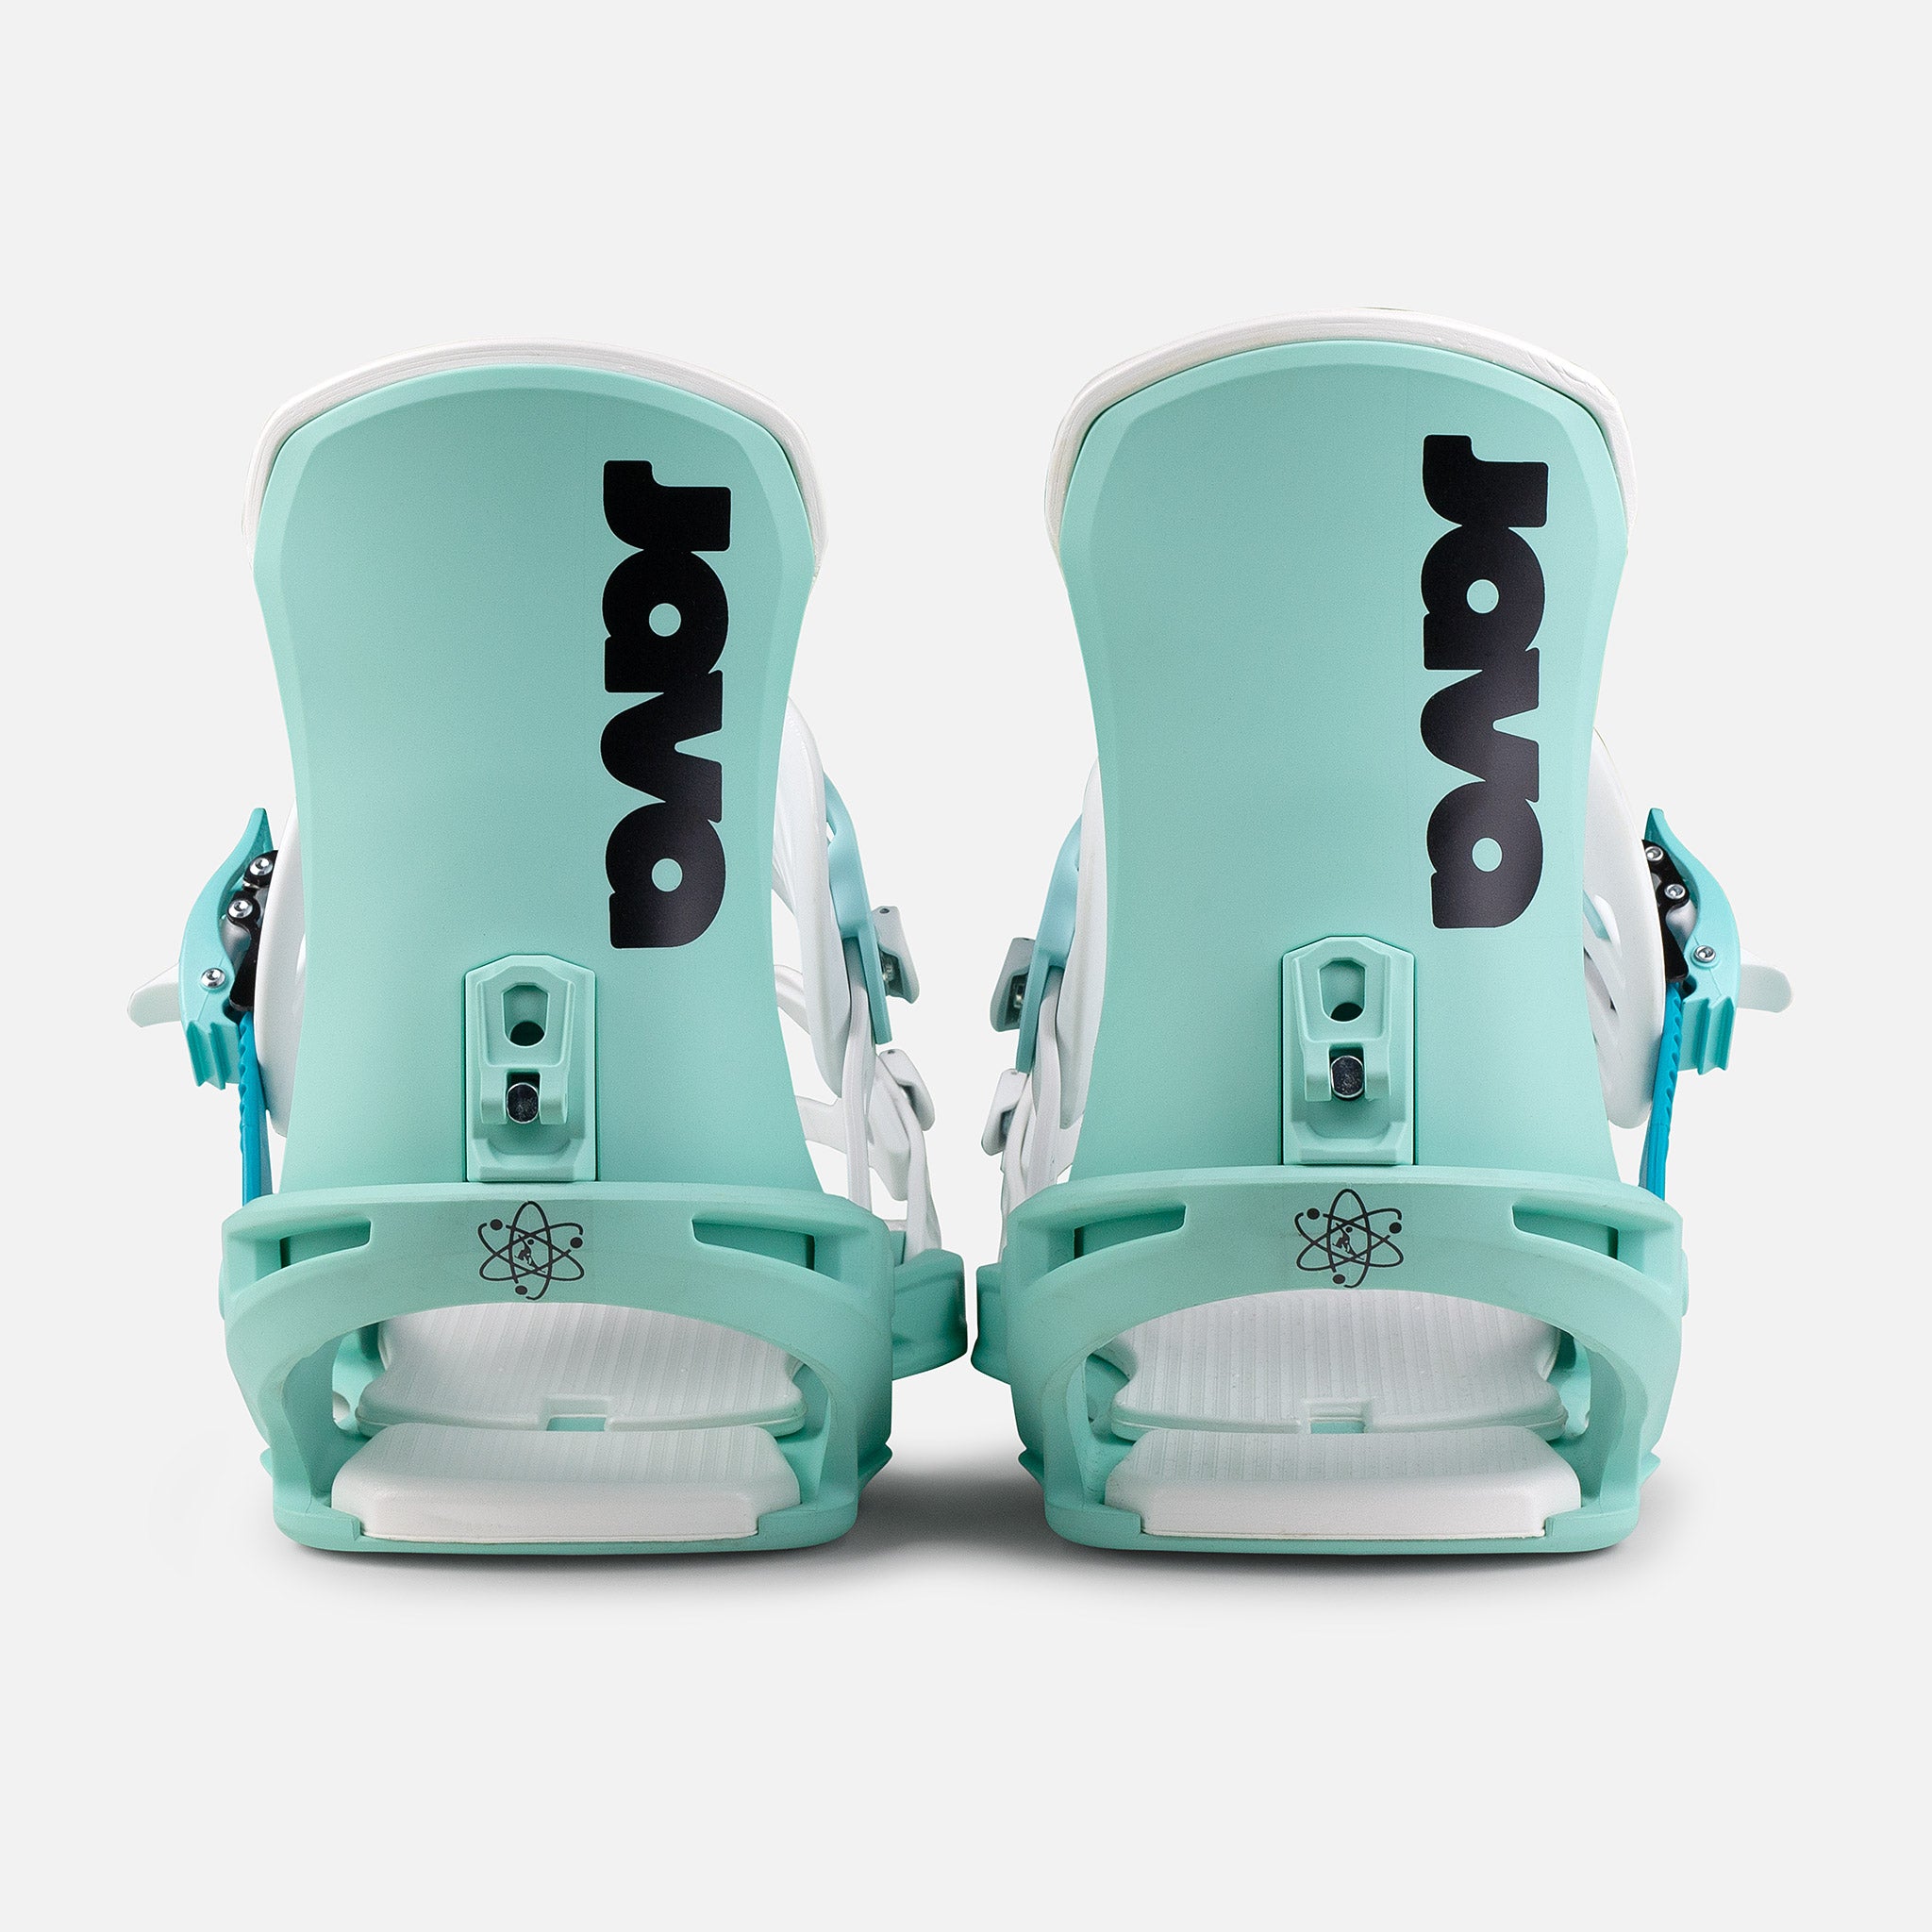
Attach Leash
- In compliance with ISO Code 14573, you are required to use a leash at all times when strapped into bindings. Attach the leash to the front binding, at the side of the base. When snowboarding, make sure your leash is securely fastened to you and your binding.
Instructions for Use
- Prior to stepping into your bindings, make sure your snowboard boots are free of snow, ice and dirt that may impede proper fit and use.
- Step in, usually front foot first, then fasten and secure your leash to front leg.
- For each binding, insert ankle strap ladder into ankle strap and ratchet the buckle securely. Repeat with toe strap.
- To step out, reverse steps above by first releasing each ratchet by pulling the release lever of the buckle.
Notes
- This binding can only be properly mounted with 4 screws per binding on snowboards featuring a 2x4 or 4x4 pattern.
- Be sure to mount the binding using only the insert screws provided or properly fitted insert screws and never tighten down the screws in slanted angle or with excessive force.
- Always check all the screws, fasteners, and hardware before snowboarding and retighten if necessary.
- These bindings, when properly mounted, are not designed to release during use.